Either it’s repair, repurpose or decomission – secure wipe of your device should allways be a part of your device management lifecycle. Handing in or repurpose you Surface devices might cause your organization to face a security challenge as the SSD is (next to) none-replaceable.
In any case of (serivce) replacement or repurpose of your Surface Pro 2 or Pro 3, there is a Surface Data Eraser tool that enables you to send a command to the SSD to change the bits to random sequences and effectively erase all data on the disk, however, there is two things that might give you some unexpected errors.
BitLocker
In order for the Surface Data Eraser to work, you need to suspend Bitlocker protection if BitLocker is enabled on your device. After this is set and done, you have to ensure that you either set UEFI settings to boot from USB prior to your SSD – or to interrupt the boot sequence and force the Surface to boot from your USB device by using the power + volume up while boot combo.
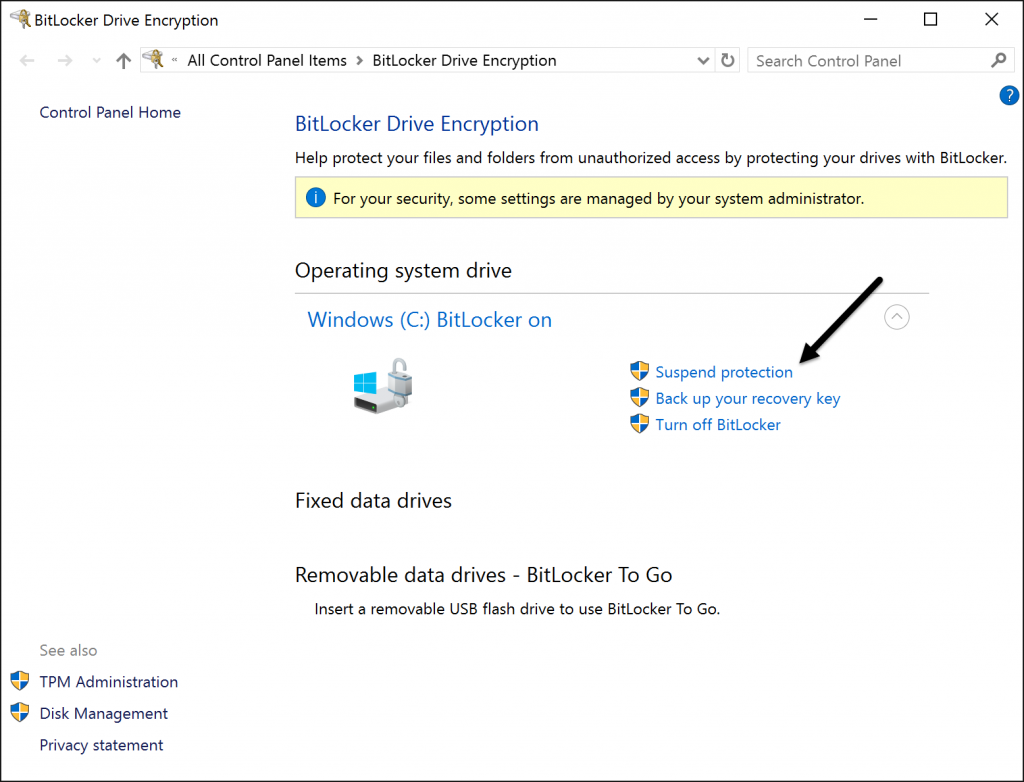
Suspend BitLocker
Remove the MicroSD
Now, if you have done everything as guided so far you should be set for the eraser tool to boot – except – if you have a mounted MicroSD card in the slot, you will get one of two error messges telling you that the boot configuration is not properly configured, or that BitLocker key wasn’t loaded correctly. Just remove the MicroSD card and reboot the device. Ensure that it boot
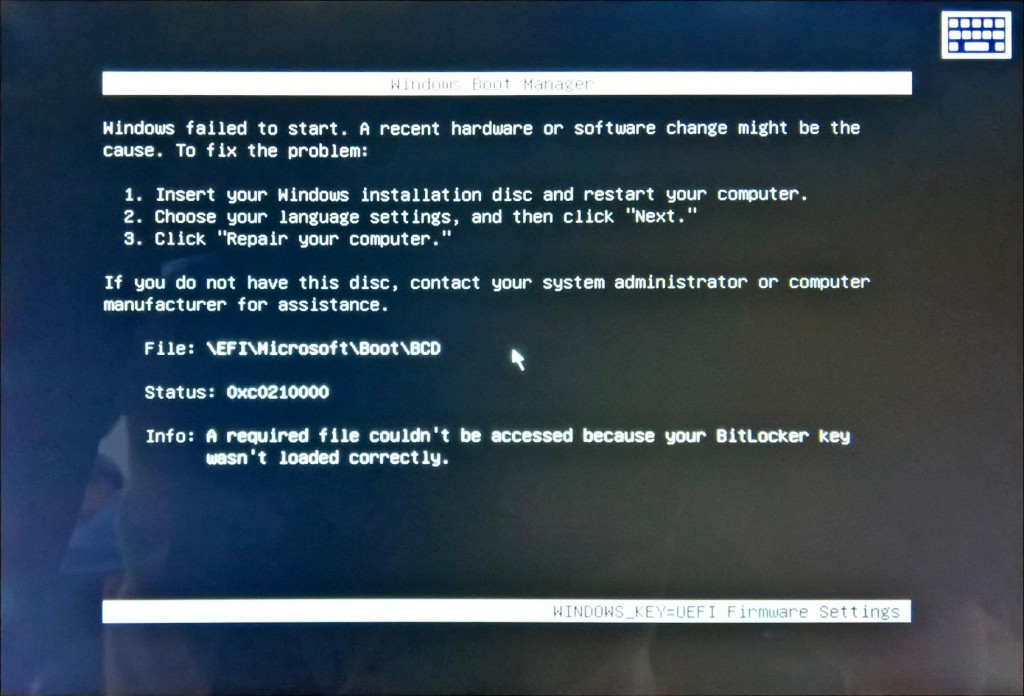
Ensure to remove MicroSD card
Follow the steps
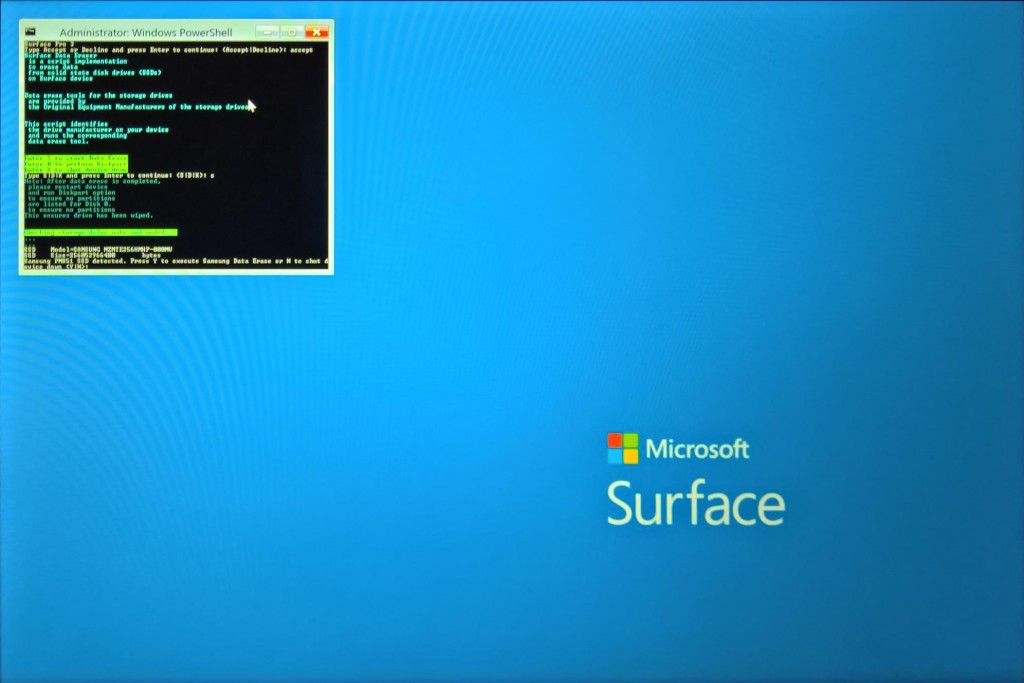
After the application (a WinPE boot) is loaded, you simply follow the three-step guide to make the application send the command to the SSD.
The process of deleting the SSD will then proceed and only take a couple of seconds.
Type Accept
Type S
Type Y
- Alex